Thermacell LIV 2.0 Review: What the Upgrade Actually Means for Your Yard
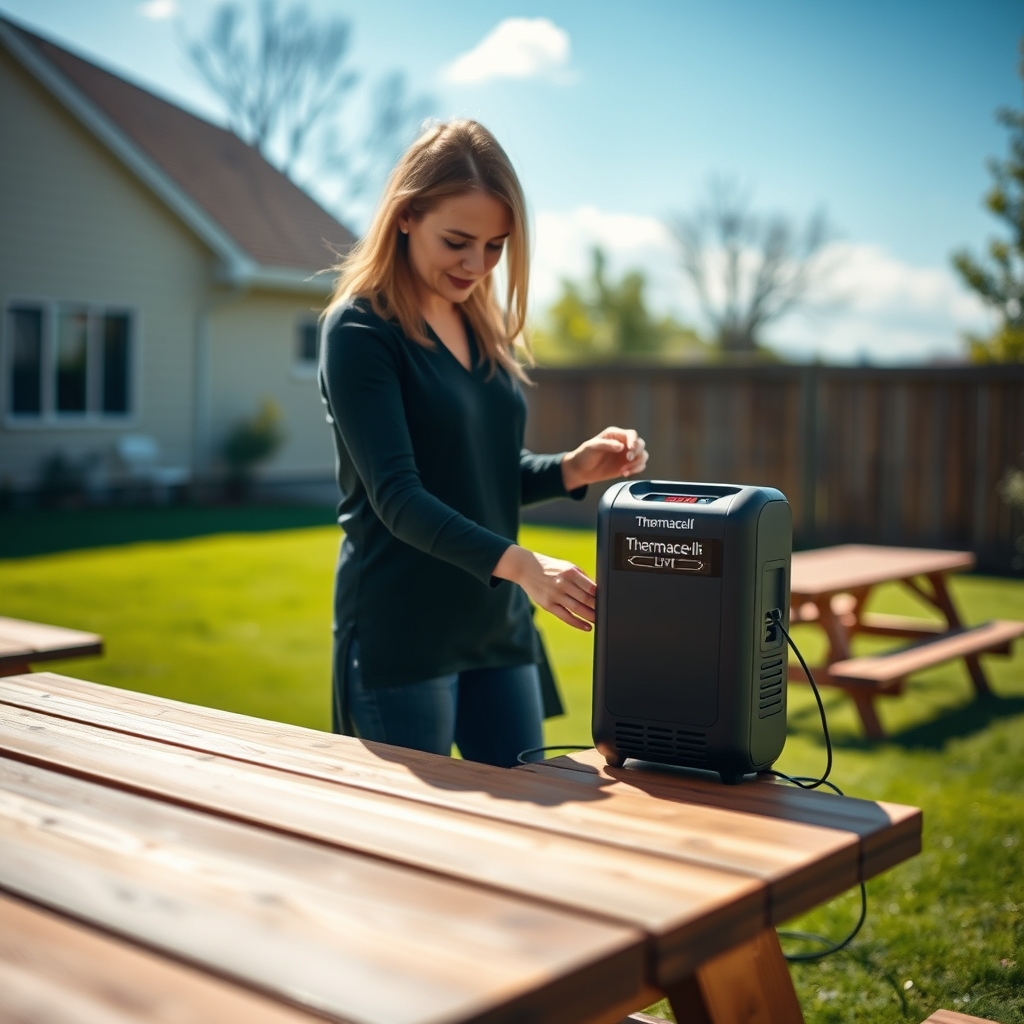
According to WIRED, Thermacell has released an upgraded version of its LIV Smart Mosquito Repellent System, now called LIV 2.0. The new kit promises faster warm‑up, higher coverage, and a slicker app, but it also arrives with a steeper price tag and a mandatory professional install.
How the System Keeps Mosquitoes at Bay
Thermacell devices rely on a chemical called metofluthrin, a synthetic pyrethroid that mosquitoes find repellent. A small cartridge contains 5.5 % metofluthrin; when heated, the chemical vaporizes and fills the surrounding air. Mosquitoes detect the scent with their antennae and avoid the zone, though the compound does not typically kill them. The key to effectiveness is maintaining a stable concentration of vapor in the protected volume.
The LIV system spreads that vapor over a yard or patio by linking several repeller units in a daisy‑chain. Each repeller draws power from a wall‑plugged hub via cable, and the hub can be controlled through Wi‑Fi. The user turns the system on, waits for the unit to heat up, and the vapor rises, creating an invisible barrier.
What’s New in Version 2.0?
Thermacell kept the core chemistry the same but tweaked hardware and software. Below is a side‑by‑side look at the most relevant changes:
| Feature | LIV 1.0 | LIV 2.0 |
|---|---|---|
| Hub capacity | Up to 6 repellers | Up to 10 repellers |
| Cable routing | Single‑direction output | Two‑direction terminal posts |
| Repeller LED ring | Dim, hard to see | Brighter, clearer status colors |
| Vapor exit | Lateral slots | Top‑mounted hatch that vents upward |
| App functionality | Basic on/off, schedule | Scheduler, timer, LED‑color control |
| Installation | DIY friendly | Requires professional install |
| Starting price (hub + 3 repellers) | $1,246 | $1,746 |
The most tangible hardware tweak is the top hatch on each repeller. By directing vapor upward, the system can fill the vertical space around a pool more quickly, which the reviewer observed reduced warm‑up time from about 30 minutes to roughly 15 minutes.
Who Gains and Who Loses?
Homeowners with large, open‑air spaces—such as pools, decks, or garden parties—stand to benefit the most. The ability to place up to ten repellers and branch cables in two directions means the system can cover irregular perimeters without forcing the hub to sit at a corner. That flexibility reduces the need for long cable runs and can accommodate awkward power‑outlet locations.
Conversely, the higher upfront cost and the shift to a mandatory professional installation raise the barrier for casual users. Renters, small‑yard owners, or anyone who prefers a plug‑and‑play solution may find the price unjustifiable, especially when cheaper alternatives (e.g., handheld citronella devices or EPA‑registered spray foggers) can provide limited protection at a fraction of the cost.
Is the Upgrade Worth It?
The trade‑off boils down to convenience versus expense. The faster warm‑up and brighter LED feedback reduce the chance of leaving the system running unintentionally, which can save electricity and cartridge life. The expanded hub capacity future‑proofs the setup for larger yards, but most residential users never need more than five or six units.
What the review does not quantify is the incremental protection against midges and no‑see‑ums. Thermacell cites updated EPA guidance allowing the same cartridge to target those pests, but real‑world effectiveness remains untested in many regions. If midges are a major nuisance where you live, you may need to run a separate test.
Finally, the app’s new scheduling and LED‑color options are nice, yet the reviewer notes occasional lag between the phone and the hub. For users who rely on voice assistants, the promised Alexa integration has stalled, meaning the system still feels like a manual device for many.
Getting Started Without Breaking the Bank
- Measure your space. Lay out a rough perimeter and count how many repellers you’ll need (spacing up to 20 ft apart). Most yards can be covered with three to five units.
- Check power outlet locations. Because the hub now supports two cable directions, you can place it closer to the nearest outlet and run cables outward.
- Order a professional install only if you lack confidence with basic electrical work. The wiring is low‑voltage, but the company’s policy now mandates a pro, so factor that cost into your budget.
- Buy a starter cartridge pack. A six‑pack of 100‑hour cartridges costs $250; it’s the only recurring expense.
- Set the timer. Use the app to schedule the system to turn on 15 minutes before you plan to use the space. This maximizes protection while minimizing cartridge wear.
If you already own a functioning LIV 1.0 system, the modest performance gains probably don’t justify the $500 price difference. However, for a new buyer looking for a semi‑permanent, chemical‑based barrier, LIV 2.0 remains one of the most reliable options on the market—provided you’re prepared to pay for the hardware and professional setup.